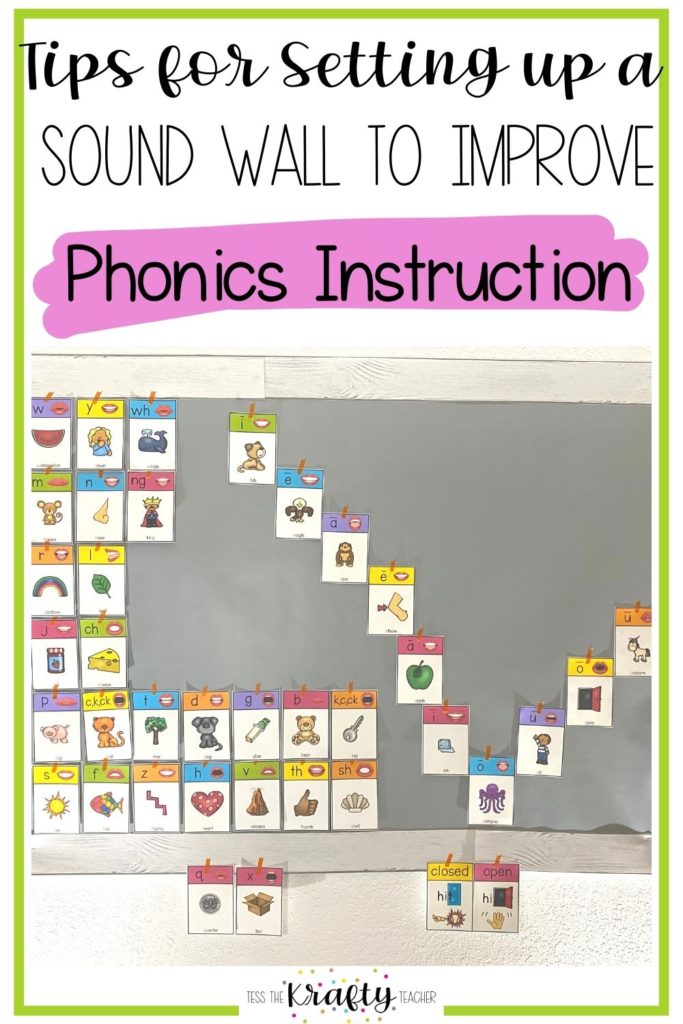
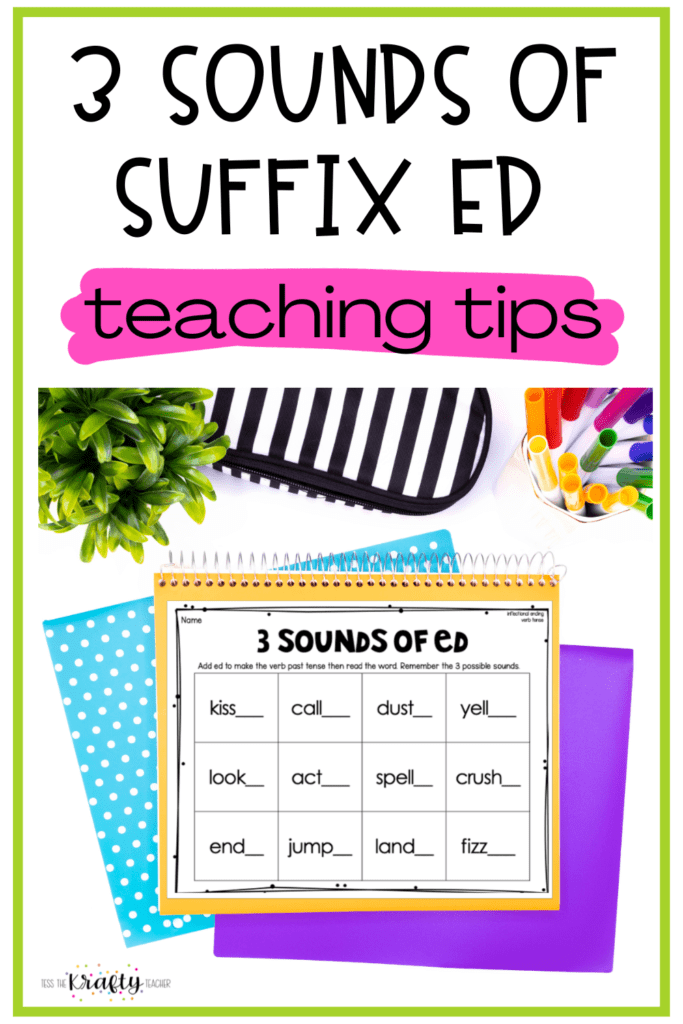
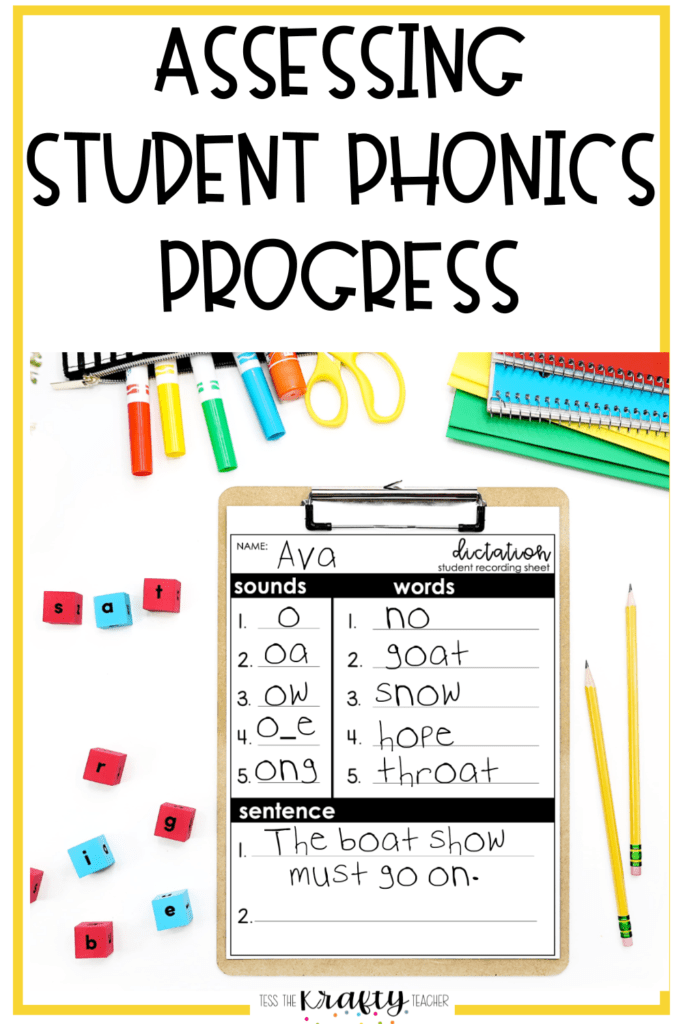
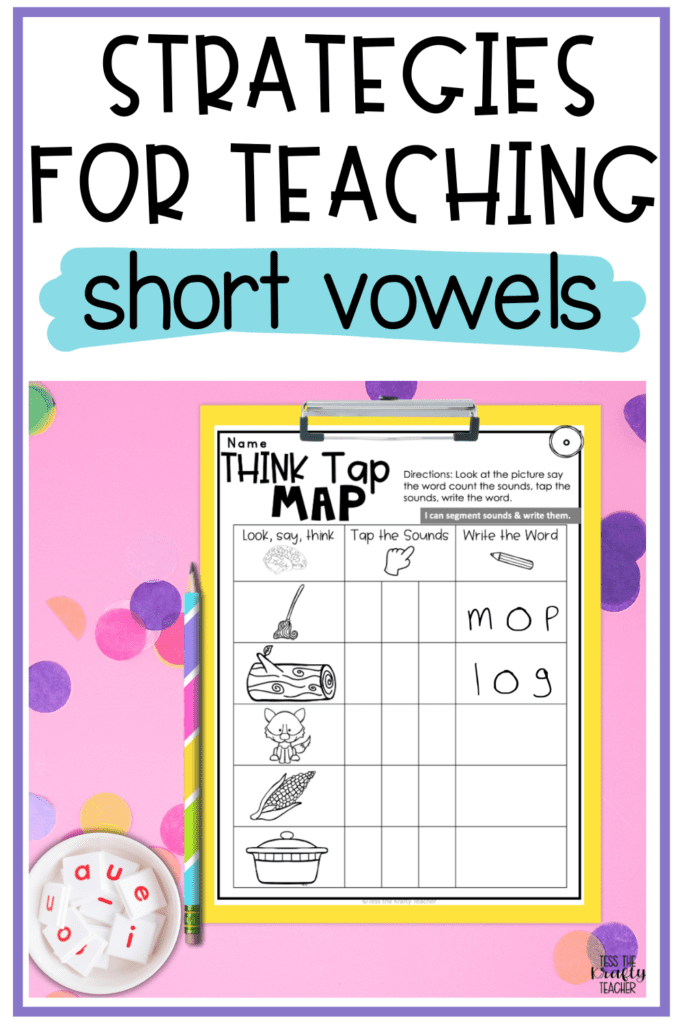
By the end of this post, you will learn tips for setting up sound walls for phonics instruction and how it will improve student learning. If you still aren’t sure why you need a sound wall read What is a Sound Wall and Why You Need One. If you are here because you already have one but need help setting it up then let’s get started!
Note this post is focused on Kindergarten but will note changes for first and second.
Tips for Sound Walls in Small Spaces
1. Print pages smaller
Every computer I’ve had has the ability to print two or more pages per page making the images smaller allowing you to fit more in a smaller space! Perfect if you have limited space!

2. Use Your Border Wisely
If you’re like me you love to double or even triple your borders but if you’re short on space for a sound wall now is NOT the time!
Place your border as far over the edge of your board as possible while still being able to staple and look nice. These few inches can make all the difference!

Organizing Consonants on Sound Walls for Phonics Instruction
Sound walls are traditionally organized into consonants and vowels. My Unlock the Sound Program includes these as well as syllables!
When you go to set up your sound wall first layout your cards sorted by how the phoneme is made.
Stops: p,b,t,d,k,g
Nasals: m,n,ng
Fricatives: f,v,th (voiced and unvoiced), s, z, sh, zh, h
Affricates: ch, j
Glides: wh, w, y
Liquids: l,r,
The bundle includes these labels though I don’t think it’s necessary to include them, especially for kindergarten.
When laying out the consonants I like to use pieces of washi tape to place them on your board because more than likely you will need to move them, probably more than once!

Then you will want to place your 6 rows of consonants first to get that spacing correct. It’s no fun putting up 5 rows all the way across only to find you’ve run out of room!

If you have a short but long sound wall you could have 2 columns of three rows of consonants if that suits your board better.
Organizing Vowel Valley on Sound Walls for Phonics Instruction
Vowels on a sound wall are usually laid out in a V shape often called the Vowel Valley. They are organized this way to indicate how open your mouth is when you say the vowel sound.
Diphthong Vowel Sounds oy, oi, ow, ou are placed off to one side of the valley
R Controlled Vowel Sounds ar, or, and er, ur, ir, are placed off to the other side
The schwa which can be represented by any of the vowels is usually placed in the middle of the valley at the top.
The first step is laying out your vowels sorted and in order of the valley.
Since we spend most of the year in Kindergarten on short vowels you might want to start with only these vowels on your valley – a hill if you will!

Then at the end of the year, you can add the long vowels.
If you’re a kindergarten teacher you may be asking where do x and q fit in? As K teachers we know that we have to teach these letter names.
I included x and q cards for kindergarten since we must introduce them but I put them below the sound wall to remind students they are special because it’s actually one letter representing two sounds for x and q is never without u.
Once you have everything space the way you want on your board then you can staple and add headings. I’ve included letters that you can print on colored cardstock to match your room.


