Let’s Get Started on this Teacher Toolbox
So I brought home the card catalogs and got to work.
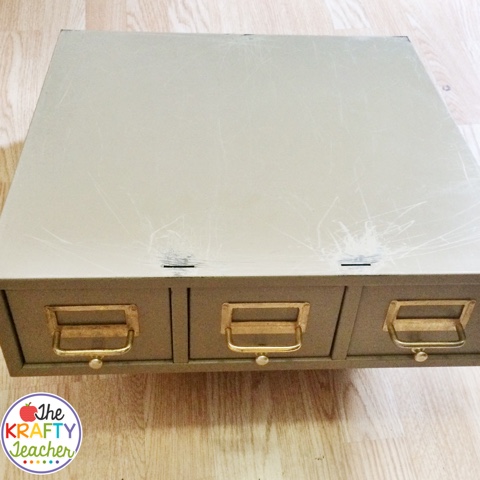
This is what they looked like before. There are three of them.
To begin we took out the drawers and removed everything we could.
This included the handles, knobs, metal, rod, and adjustable support. When we put it back together we were able to use just the knob and a screw so that items in the drawers would lay flat.
Next, we prepped them for painting, using steel wool we gently scrubbed.
Then wiped them down with acetone smoothing out the surface and removing any dirt, residue, or remaining bits of steel wool.
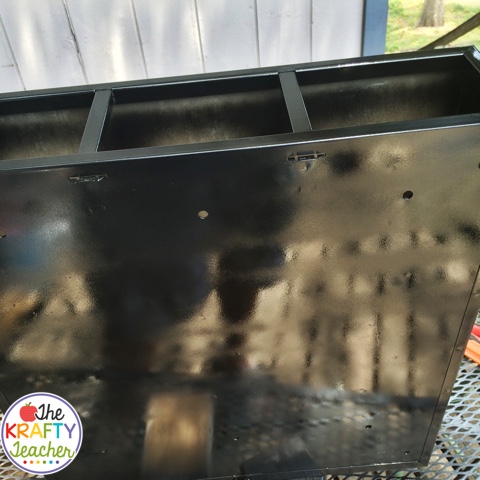
Afterward, we painted the frames in a back and forth motion.
Finally, it was time for the hardware which I wanted to be silver. We started with the hardware we removed. We laid it all out on some spare cardboard and went to work.
So we masked off the plates on the drawers using painter’s tape, covering the entire front of the drawer except for the plate and center of the plate which will be covered with a label.
Every little bit including the corners which required extra tape because they are rounded.
At last, we replaced all the hardware and stacked them together!
Before and After
Pretty impressive for a freebie, some paint, and some work!
These are labels I created for what I want to keep in the drawers and this is the final product! I am so thrilled with how it turned out! I can’t wait to put it in my new classroom and fill it up!
I hope you enjoyed this tutorial on how I created my teacher toolbox.







19 Responses
Wow!!! I love it!! Turned out so great, so sharp looking!
Go for it! I love mine!
Wow!!! That is fabulous!!! Only one project…but looks like a big one!
I spotted an old library card catalogue in a closet in my school once…actually in an old storage room you get to from a hallway closet. (My school is OLD!) I always thought it would be cool to have but was too much work to get out from piles…maybe I'll sneak in this summer and see about it. You've inspired me!
Thank you Tara! The only downside to the metal is that it is pretty heavy! Course wood would be too.
What an awesome gift!!! And I love that your hubby helped you. 🙂
I love your toolbox. It's always a great thing when we can reuse items like this, especially when they turn out so great!
Mary
Elementary Engagement
Aren't to do lists always never ending….now, can we talk about that tool box?!?!?! AMAZING!!! Just love it and love that it's metal!!! You did such an amazing job on it! Thank you for linking up:) Can't wait to see what's next!!
Wow! Your tool box is beautiful! You guys did an amazing job.
Girl your patience paid off! It looks amazing! Bravo on that beauty!
Thanks! I can do anything for a year! Or at least that's what I keep telling myself!
Yep mine will be part of elementary.
Thank you! I always thought the other ones I saw on Pinterest and Instagram would be too small for what I wanted so I am super happy with this!
I love your tool box! A great way to upcycle…looks so classy!
Lindsey
Miss Johnston's Journey
Your toolbox is so shiny and sassy! I absolutely love that you were able to repurpose this! I haven't ever taught 6th, but I've taught 5th for several years and my kids always beg me to go to 6th. I have a feeling I would like it…..I hope you do too!
Alison
Rockin' and Lovin' Learnin'
Love your tool box! You will love 6th grade. I loved 6th grade when it was still part of the elementary school. You can do so much with them! Good luck 🙂
I'm in LOVE with this project! I'm very jealous of your find. Your tool boxes is gorgeous!
Jess
WOWie! I love it! I have tool box envy! (smile) I enjoyed your blog post! Pam Visit my blog at PJ Jots!
GASP! What a great find–and you made it look fantastic! I hope it works well for you! My "tool box" is WAY too small…yours should be AWESOME!